
There is a whole category of 3D effects that look like they require specialist software or complex simulations but are actually hiding in plain sight inside Blender.
Animated displacement textures are one of them. Understanding how they work changes the way you think about materials entirely, because it means your textures do not have to be static. They can move.
A material can be a video file
This is the concept that unlocks the whole technique. In Blender, you can feed a video file into a material the same way you would feed in a still image texture. Whatever is in that video, colour, shape, movement, gets read by the material and applied to the surface of your mesh. Once you understand that, the creative possibilities open up significantly.
For displacement specifically, Blender reads the brightness values of your texture to decide where to push geometry outward and where to pull it inward. White pushes out, black pulls in. So if your video file contains animated graphics moving across a black and white canvas, your mesh moves with it. The material becomes the animation.
The work happens before you get to Blender
What makes this technique interesting from a workflow perspective is that a significant part of it takes place outside of Blender entirely. You are essentially designing and animating your displacement map in a video editor first, using your UV layout as a guide to make sure everything lines up correctly when it comes back into Blender. That crossover between 3D software and video editing is a workflow that becomes more and more useful the further you go in 3D product animation.
The quality of your displacement comes down to the quality of that exported video. Always export in 4K. Soft edges, created by a simple blur before export, give you smooth falloff with organic movement. Hard edges give you harsh edges and mechanical movement. Knowing which one you want before you start is what separates a deliberate creative decision from a happy accident.
The detail that catches everyone out
When you bring it in as an Image Texture and press play, nothing happens. This is because Blender does not automatically know how long your video file is. It feels like something has gone wrong when actually it is just one setting that needs updating manually. I cover exactly how to fix it in my TikTok tutorial linked below.
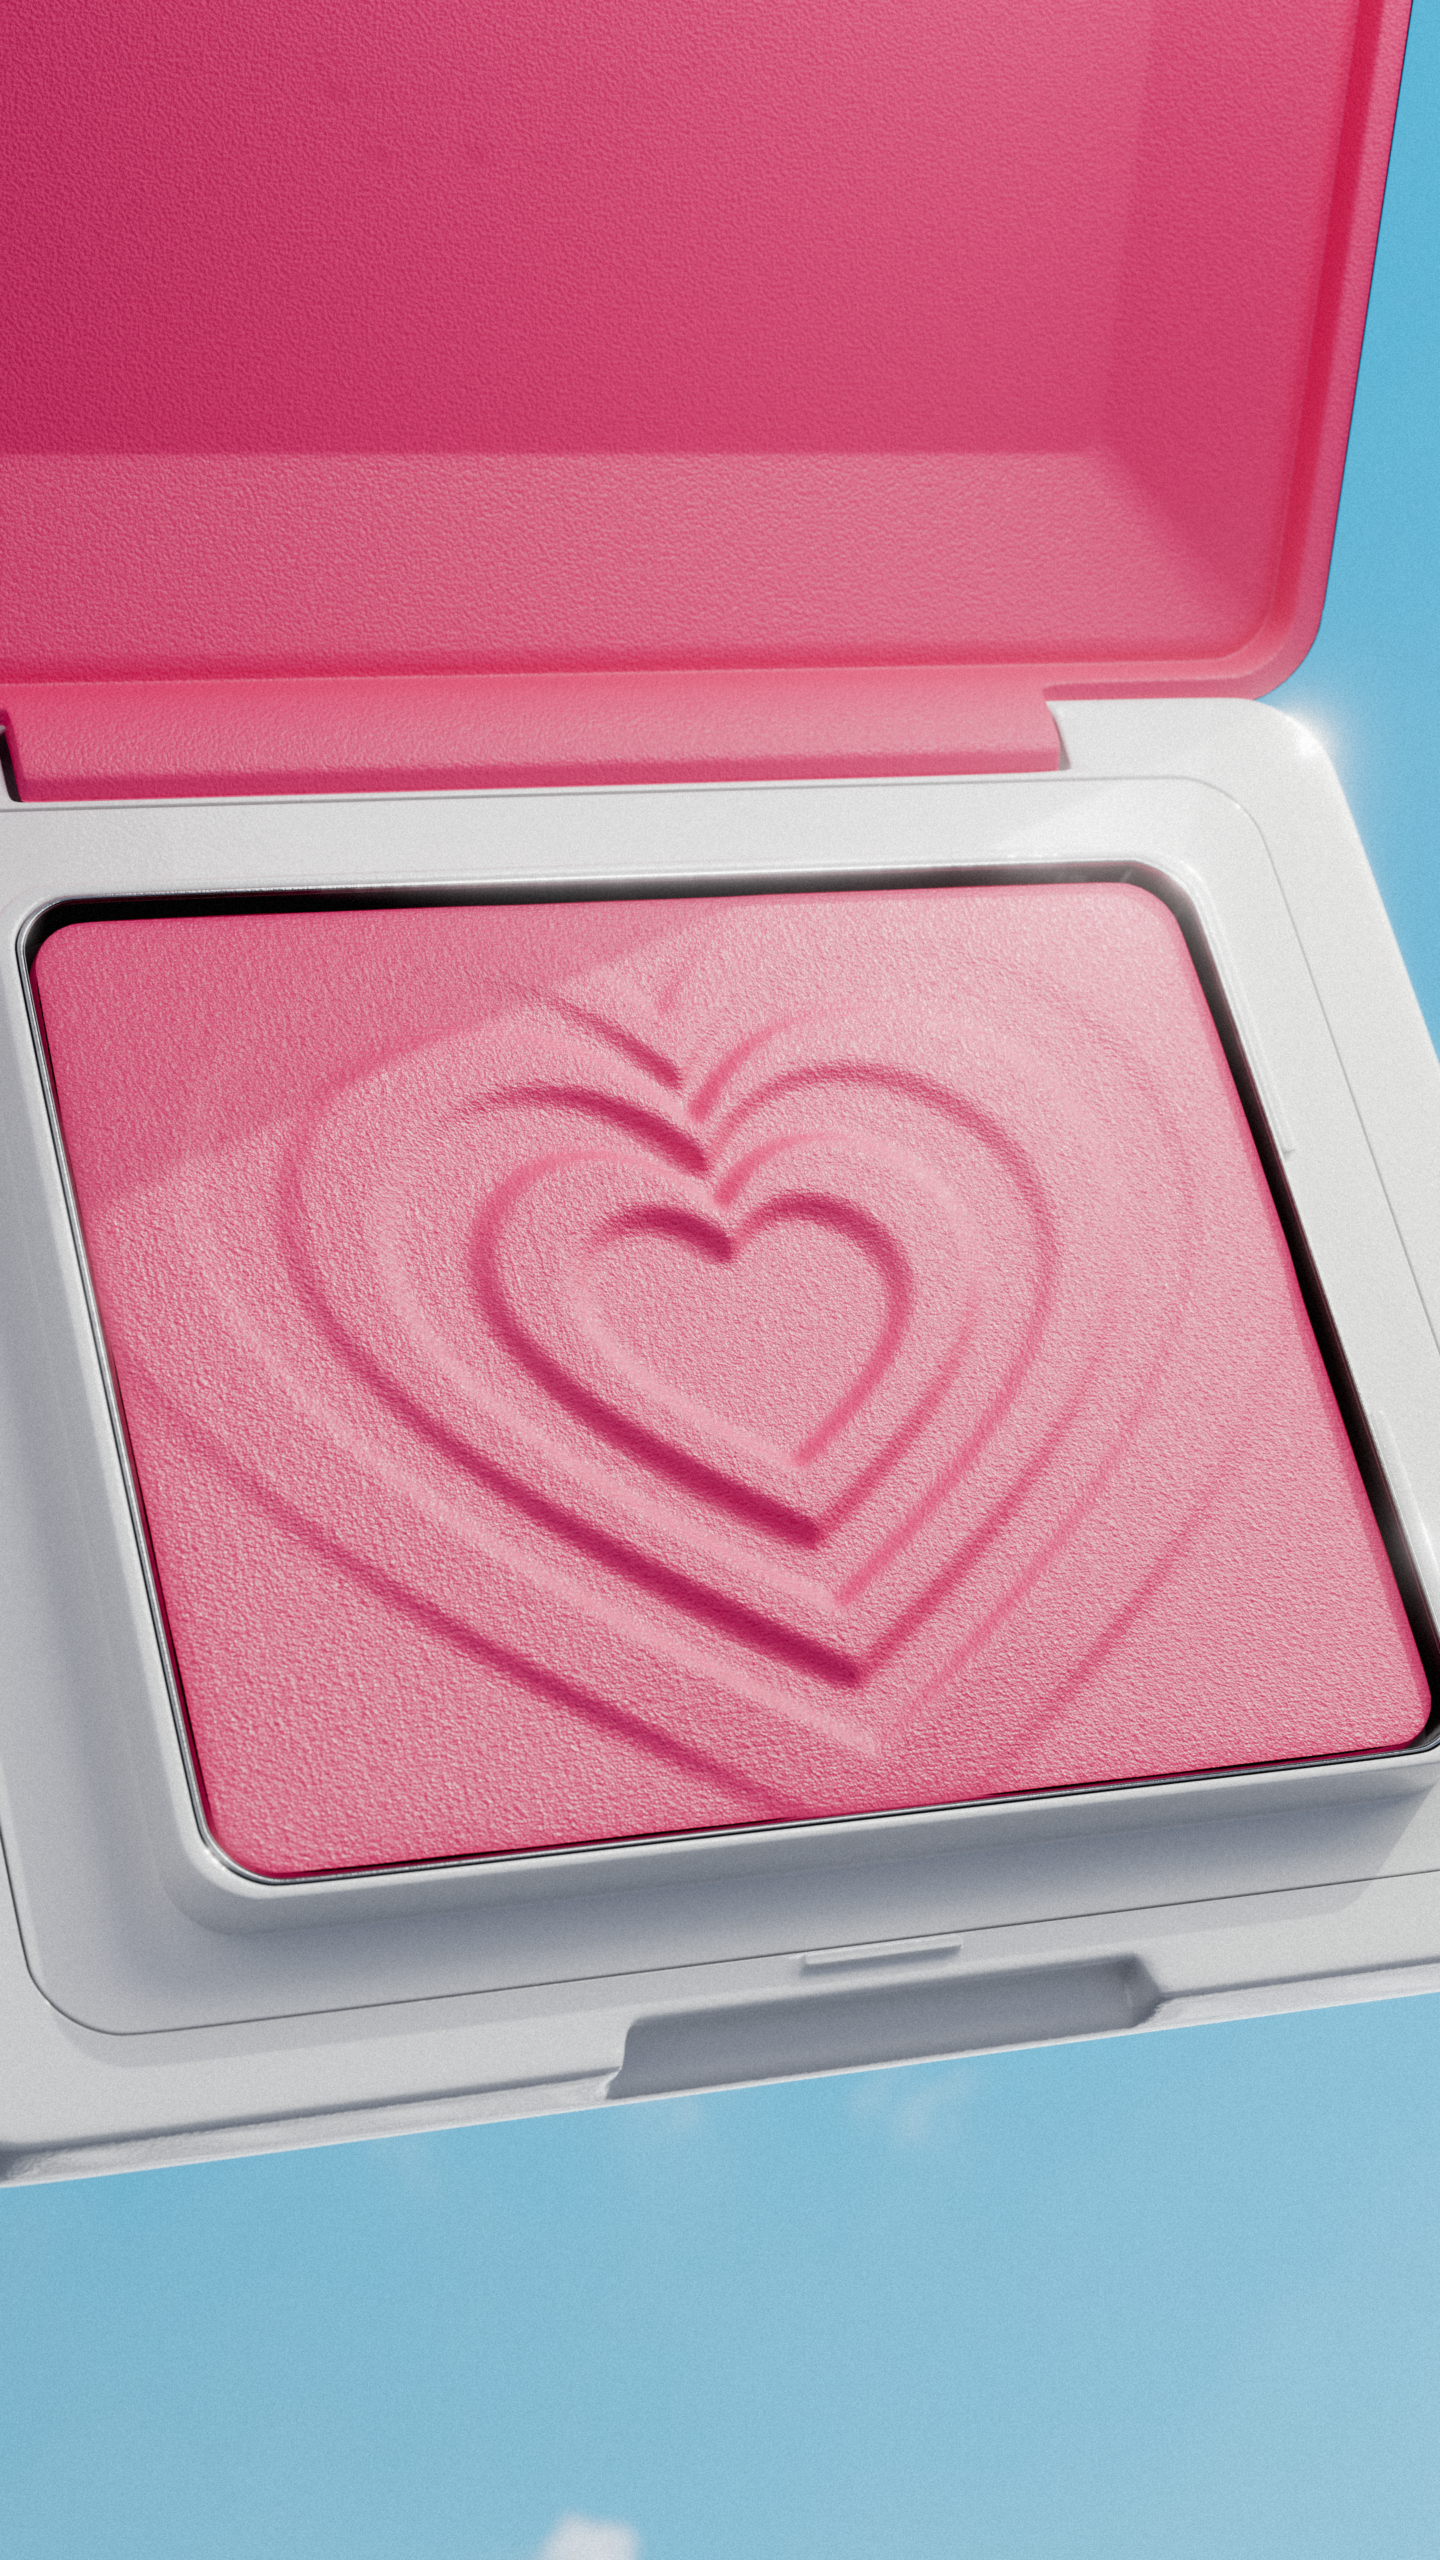
I used this exact technique in my animation of Glossier’s Cloud Paint Blush. Head to my TikTok for the full step by step walkthrough.
Come and find me over on TikTok at @lollypix where I post regular Blender tutorials and behind the scenes content!



0 Comments